Learn How to Remove and Re-Install Baseboard Trim on Walls
By Mark J. Donovan
|
|
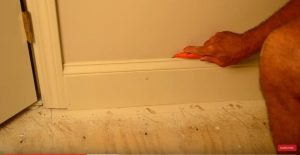
In this video Mark Donovan shows how to carefully remove baseboard trim so that it can be re-installed after a wood floor installation. When installing a wood floor in an existing finished room, you have three choices when it comes to the baseboard trim. (1) You can leave it in place and fasten quarter-round trim to the existing baseboard trim after the wood floor is installed. (2) You can roughly remove the baseboard trim and replace it. |
(3) And in my preferred method, you can carefully remove the baseboard trim and re-attach it once the new wood floor is installed.
This last solution can save you a small fortune in both dollars and time, as baseboard trim is expensive and time consuming to install.
| Tools to Carefully Remove Baseboard Trim
To carefully remove baseboard trim you need a number of tools including: a couple of putty knifes, a 6 inch taping knife, one or two large pry-bars, one small pry-bar, a hammer, a sharpie marker, adjustable pliers and a utility knife. Carefully Removing Baseboard Trim If there is caulk between the top of the baseboard trim and the wall use the utility knife to score a mark on the caulk. Next slide one of the putty knives behind the backside of one end of the baseboard trim piece and wall and move it back and forth a couple of inches, while working your way downward the length of the blade. |
 |
Then slide the second one in right in front of the first putty knife. Then slide the small prybar in between the two putty knives.
With the prybar pushed down in between the two putty knives worry the prybar backwards and forward, and with each movement slowly rocking the baseboard trim away from the wall.
Once you’ve opened up a half inch gap between the baseboard trim and the wall, slide the 6 inch taping knife behind the baseboard trim and then use the larger prybar to go deeper behind the baseboard trim. Preferably try to slide the prybar all the way down to the floor behind the baseboard trim. Then slowly pull forward on the prybar to further remove the baseboard trim from the wall. Continue down the length of the baseboard trim in this fashion until you can easily pull the length of baseboard trim from the wall with your hands.
| Carefully Removing nails from Baseboard Trim
Lay the baseboard trim down flat on the floor, on its finished surface side. Then, using the adjustable pliers pull the finish nails from the board. Once you grab onto each nail simply rock the pliers against the back of the baseboard trim wood to leverage the nail out. This nail removal method ensures you don’t damage the front surface of the baseboard trim. Next, use the adjustable pliers to remove any nails from the walls. |
 |
Mark the Baseboard Trim Piece and Wall
After removing the nails from the baseboard trim and wall, mark the back side of the baseboard trim and the related wall section with a unique number or identifier so that you know what trim piece goes with which section of the wall. A sharpie marker works perfect for this task.
Continue to work your way around the room removing the additional sections of baseboard trim. Once all the trim has been removed, clean, and if necessary, repaint the baseboard trim. After the new wood floor has been installed you can go back and re-attach the baseboard trim pieces to the wall.
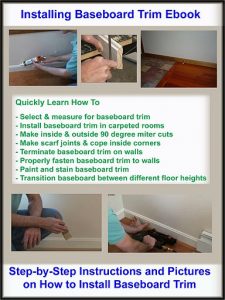
Dress Up Your Home by Installing Baseboard Trim – For specific instructions on installing baseboard trim see the “Installing Baseboard Trim Ebook“. The “Installing Baseboard Trim Ebook” provides easy to understand, step-by-step instructions, on how to install baseboard trim in a room containing both inside and outside corners. In addition, it explains how to properly use a miter saw and coping saw to achieve perfect joints like the pros. It is also loaded with instructional pictures! 100% Money-Back Guarantee if you are not satisfied.
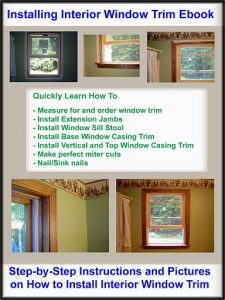
For information on installing Window and Door trim see HomeAdditionPlus.com’s Installing Interior Window Trim Ebook and Installing Interior Door Trim Ebook. These Ebooks are loaded with pictures and provide easy to understand, step-by-step instructions, on how to install interior window and door trim.
Related Information on Baseboard Trim Installation
- How to Install Baseboard Trim Video
- How to End Baseboard Trim on a Wall Video
- How to Reinstall Old Baseboard Trim Video
Additional Finish Carpentry Resources from Amazon.com
 |
 |
Free Home Addition Price Quotes with No Obligation!
Fill out our 3-5 minute quick and easy form, and receive a free price quote on a house addition from one of our prescreened and licensed home addition contractors. This process is free and there is no obligation to continue once you receive your house addition price estimate.