How to Hang Pictures and Wall Items on Plaster Walls without Causing a Disaster
By Mark J. Donovan
|
|
Plastering of walls is pretty much a thing of the past. Drywall, with the use of joint compound, is the predominate method for creating finished walls. For the most part, finishing walls with lath and plaster died out about half a century ago. However there are many older homes that still exist today that have plaster walls and that occasionally need repair for one reason or another. In addition, there are some folks who still insist on using it, particularly when they’re building a custom old style home.
Plaster, without a doubt, is a superior product to drywall/joint compound as it creates much harder walls. Plaster walls are much less susceptible to being damaged or scratched. You can purchase plaster at most large home improvement centers and at paint stores. |
Working with plaster can be challenging. As a matter of fact it took years for an apprentice to become a master plasterer. Consequently working on plaster walls yourself is difficult. It’s hard to apply, sets up fast, and is nearly as hard as concrete.
2) If you plan to install a screw into the plaster wall for a wall hanging, again apply tape over the spot for where you want to locate the screw.
The wall stud is located directly behind the dull thud noise sounding area. Note that with older homes, the wall studs will most likely not be spaced evenly on 16 or 24 inch centers.
By following these three basic tips you can dramatically mitigate your risk of causing major damage to your plastered walls when hanging pictures and paintings.
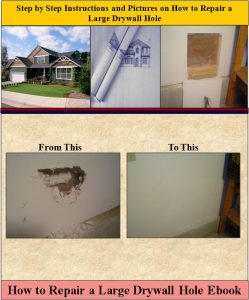
For information on repairing a large drywall hole, see the “How to Repair a Large Drywall Hole” Ebook from HomeAdditionPlus.com. The “How to Repair a Large Drywall Hole” Ebook provides step-by-step instructions on how to repair your damaged wall so that it looks as good as new.
See HomeAdditionPlus.com’s Drywall Calculator
Related Information
- Using Coarse Thread Drywall Screws
- Detailed Instructions on Installing Drywall
- How to Install Corner Bead
Additional Drywall Installation Resources from Amazon.com
 |
 |
Free Home Addition Price Quotes with No Obligation!
Fill out our 3-5 minute quick and easy form, and receive a free price quote on a house addition from one of our prescreened and licensed home addition contractors. This process is free and there is no obligation to continue once you receive your house addition price estimate.


