Instructions on how to Replace a Pull Chain Light Switch Fixture
By Mark J. Donovan
|
|
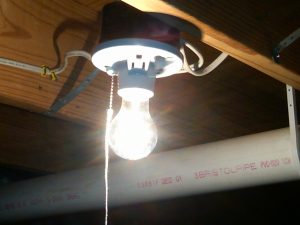
If you have a pull chain light switch fixture in your basement, garage or attic, more than likely you will eventually pull the pull string off of it, or it will at some point no longer work.
Overtime the pull chain/string assembly mechanism either separates from the light switch fixture or the rotary mechanism fails to operate correctly. To replace a pull chain light switch fixture first start by purchasing a replacement one at any home improvement store. |
They are relatively inexpensive. A good porcelain type will cost in the 3 to 5 dollar range.
| Once you have purchased the replacement pull chain light switch fixture, turn off power to the light fixture at the main circuit breaker panel or fuse box.
Confirm with a voltmeter or a simple neon electrical tester. Note that it is best to use only one hand when turning on and off the circuit breaker. Your other hand should not be touching the circuit panel or anything that could come in contact with the ground. |

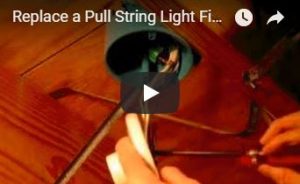
Watch this video to learn how to replace a pull string light fixture. |
Replacing Pull Chain Light Switch Fixture with Switch Instructions
Make sure you let everyone in the home know that you are working on the switch fixture and that for no reason should they turn power back on at the main circuit panel or fuse box.
| You may also consider putting a piece of tape over the circuit breaker and label it “DO NOT TURN ON”.
Next, using your screwdriver, remove the screws that hold the pull chain light switch fixture to the ceiling or electrical box. Now pull the pull chain light switch fixture out from the electrical box a few inches. |
 |
Label each wire with a piece of tape indicating which wire attaches to which of the two screws on the back of the light switch.
Using your screwdriver and/or needle nose pliers remove the wires from the light switch.
Screw in a light bulb into the light switch fixture, and turn the power back on to it at the main circuit breaker panel or fuse box.
Pull on the pull string / chain assembly to toggle the light and to confirm that the light indeed turns on and off properly.
For help on building a new custom home, see HomeAdditionPlus.com’s New Home Construction Bid Sheet. The New Home Construction Bid Sheet provides you with the knowledge on how to plan a custom home building project, and what to look for when hiring contractors for your new home construction. It also includes a detailed cost breakdown table and spreadsheet for estimating your own new home construction building costs.
Related Information on Installing Light Fixtures
- How to Change a Pull Chain Light Switch Lampholder Video
- How to Remove a Broken Light Bulb
- How to Fix a Loose Electrical Outlet
Additional Electrical Wiring Resources from Amazon.com
 |
 |
Free Home Addition Price Quotes with No Obligation!
Fill out our 3-5 minute quick and easy form, and receive a free price quote on a house addition from one of our prescreened and licensed home addition contractors. This process is free and there is no obligation to continue once you receive your house addition price estimate.


